Wind Direction Indicator School Project


This a school project for growing Kids typically for class 3 to class 5 Students. We say this level of kids of Level 2 ,a one level up compared to pre-school and early learning stages.
This project titled as “Wind Direction Finder’ is an creativity mind based a good project which aims to familiarize kids to Arts and crafts item and how they can be used in an interesting way to make some creative . That do some meaningful things.
This project is used to find out the direction of flowing wind.
Hold the pot from one hand. Using Scissor and pencil make a hole into the base of the pot and insert the pencil .Make sure that the Rubber end of the pencil keeps out of the container.
Take the coloured card paper and cut out 4 nos of small triangles and two large triangle.
Write down direction names NORTH, SOUTH, EAST & WEST on these 4 small triangles .Now, you are tasked to glue the 4 small pieces of triangle to the pot upper end. See the picture the manner and position of small triangles.
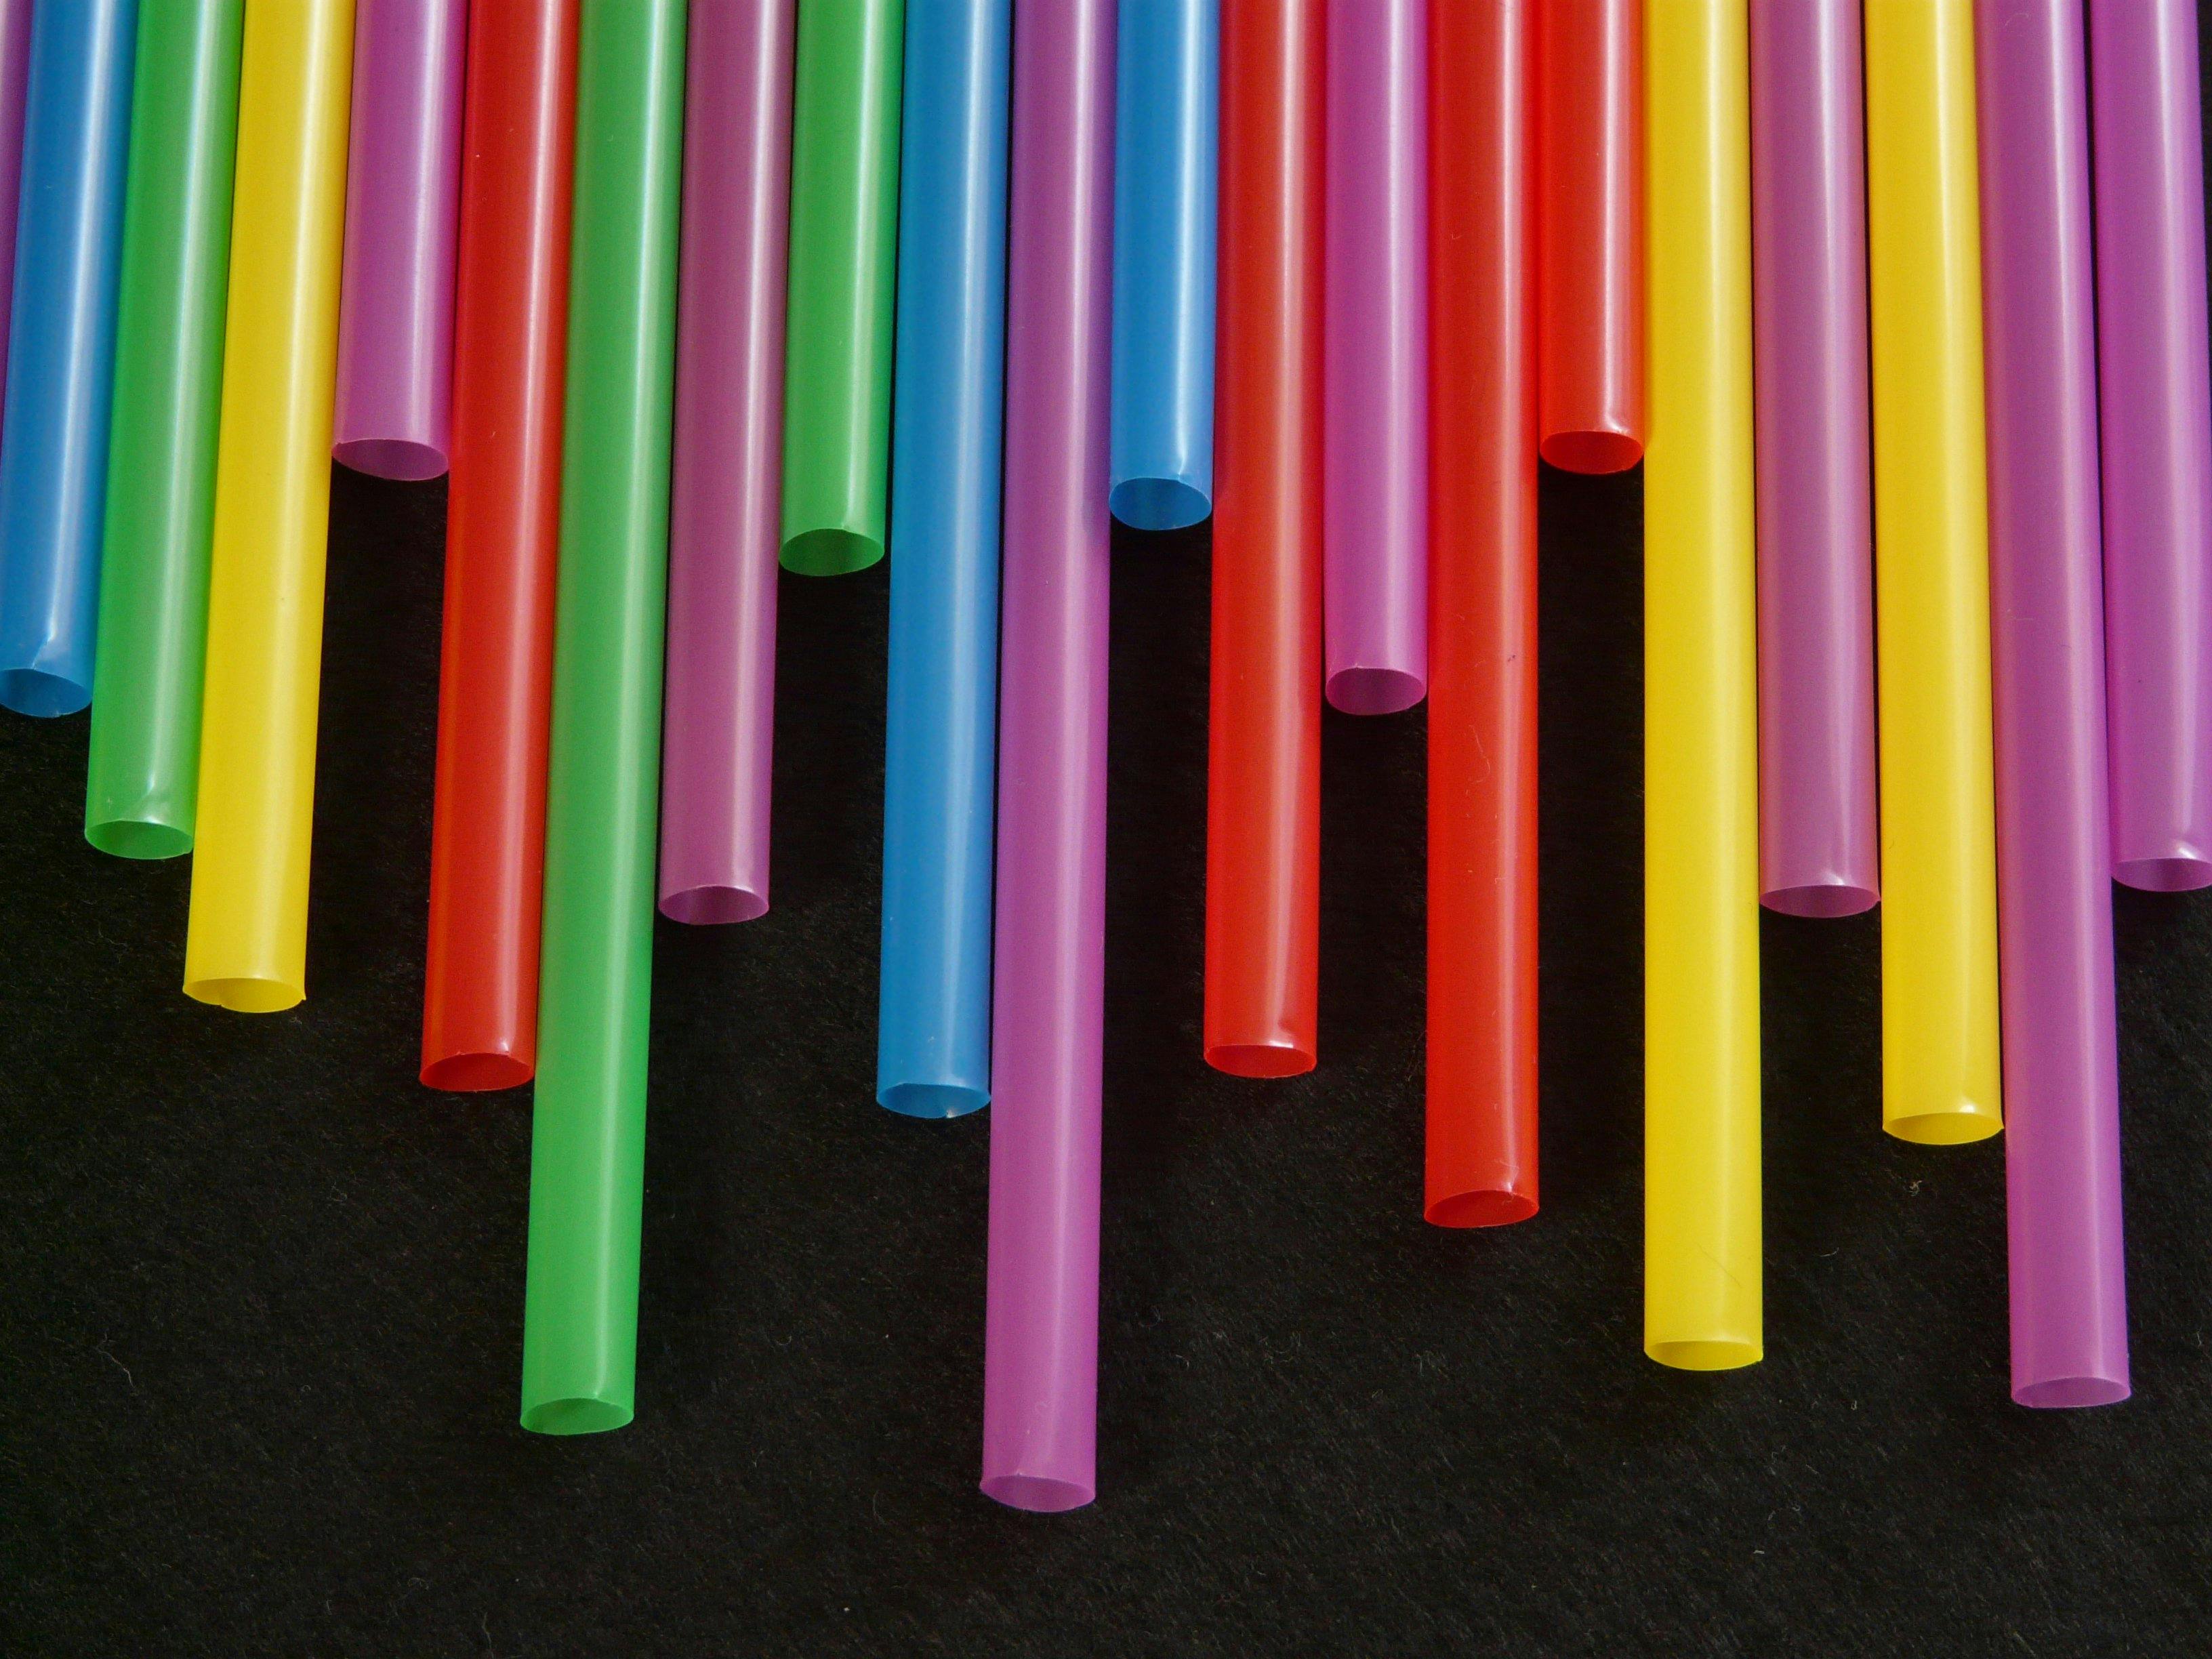
Next hold the plastic straw from one hand and make a small slit at both ends.
Insert the arrow end of one triangle into the slit of straw and the base end into the upper slit of straw. In this way ,both triangle points in the same direction like shown in the picture. We call this as ‘Vane’.
Using the scale, mark the mid point of straw. Then, insert the tack pin into the marked mid-point of straw and further into the rubber of pencil. Make sure that the ‘Vane’ rotates easily.
As a last step of this project, take the modelling clay and make a ring like shape . Then, Fix the pot into the clay firmly so that the final project does not topple down due to flow of air.
Introduction Mirages are one of nature’s most intriguing optical illusions, often seen on hot days when it looks like water is shimmering on the road ahead. However, as you get closer, the water seems to vanish. This phenomenon isn’t just a trick of the mind but a fascinating example of how light behaves in different…

Learn about dry ice and its fascinating properties in this easy-to-understand school project report. Discover how dry ice sublimates into gas, creates fog, and even puts out a candle, all through a fun and safe science experiment for students!

Dive into the slimy world of banana slugs with this fun science project for kids! Learn how these fascinating creatures move using a single foot and why they leave a trail of mucus. Perfect for young scientists, this hands-on nature experiment explores the important role of banana slugs in the ecosystem.

Discover the magic of a moving lava experiment! Learn how to create a DIY lava lamp using simple materials like water, oil, and salt. Perfect for kids and students, this fun and easy science project explores density and solubility while sparking curiosity and creativity.

Most things around us are solids, liquids, or gases, but slime is different. It doesn’t fit neatly into these categories because it’s a non-Newtonian fluid—a substance that can behave like both a solid and a liquid depending on how you handle it. Ready to explore the science behind slime? Here’s how you can make your…

Discover the amazing science experiment where a paper cup filled with water doesn’t burn above a flame! Perfect for kids, this fun and safe project demonstrates the science behind boiling points and fire safety. Parental supervision required.