How to Make Slime: A Fun Activity to Explore the Science Behind It
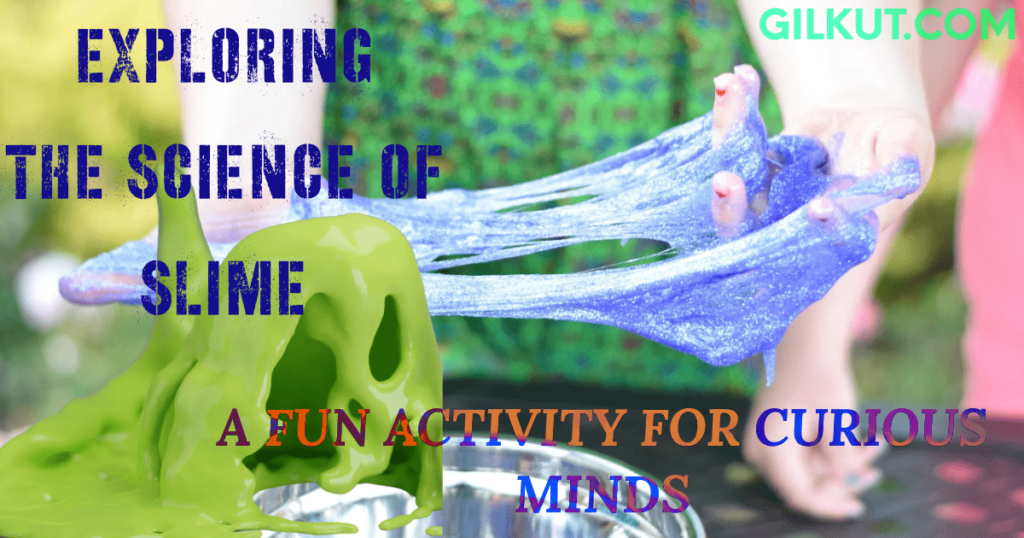
Most things around us are solids, liquids, or gases, but slime is different. It doesn’t fit neatly into these categories because it’s a non-Newtonian fluid—a substance that can behave like both a solid and a liquid depending on how you handle it. Ready to explore the science behind slime? Here’s how you can make your own!
Slime—it’s not just a fun toy; it’s a captivating science experiment and an endless source of creative play. Whether you’re a parent looking for a rainy-day activity, a teacher planning a classroom project, or simply someone who loves getting hands-on with gooey, stretchy fun, making slime at home is easier than you might think. This guide will walk you through the process step-by-step, ensuring that your slime is perfect every time.

Why Make Slime?
Slime isn’t just trendy; it’s a fantastic way to explore science. When you mix the ingredients, you’re actually creating a chemical reaction that turns liquids into a non-Newtonian fluid—meaning it behaves like both a solid and a liquid. Beyond the science, slime-making is an activity that sparks creativity, calms the mind, and provides a sensory experience that’s enjoyable for all ages.
What You Need to Make Slime
Before we dive into the instructions, gather these essential ingredients:
| Material | Description |
|---|---|
| Borax powder | Found in the detergent aisle |
| Distilled water | Used for mixing |
| White glue (Elmer’s) | Best for making slime |
| Food coloring | Adds color to your slime |
| Small sticks | For stirring the mixtures |
| Measuring tools | Spoon and cup for precise measurements |
| Glass jars | Two 8-ounce jars for mixing |
| Newspaper | To protect your workspace from spills |
| Yogurt container | Clean, for mixing the slime |
| Resealable plastic bag | For storing the slime |
Step-by-Step Instructions: How to Make Slime
- Prepare Your Workspace: Lay down newspaper to catch any spills.
- Make the Borax Solution: Add ½ teaspoon of borax to 1 cup of distilled water in one jar. Stir until dissolved.
- Create the Glue Mixture: In another jar, mix 1 cup of distilled water, a drop of food coloring, and the entire bottle of glue. Stir until well combined.
- Combine and Create Slime: Pour half of each mixture into a clean yogurt container and mix. Watch as it transforms into gooey slime!
- Experiment: Touch and play with the slime. Notice how it sometimes feels like a solid and other times like a liquid.
More Stuff to Do
Try making Slime using different colors of food colorings.
ALTERNATE METHOD : HOW TO MAKE SLIME
In this method following materials will be required:
- White school glue (PVA glue) – 1/2 cup
- Baking soda – 1/2 teaspoon
- Contact lens solution – 1 tablespoon (make sure it contains boric acid and sodium borate)
- Water – 1/4 cup
- Optional: Food coloring, glitter, or beads for customization
Step-by-Step Instructions: How to Make Slime
Follow these easy steps to create your very own slime:
1. Mix the Glue and Water
In a medium-sized bowl, pour 1/2 cup of white school glue. Add 1/4 cup of water and stir well to combine. This helps thin out the glue, making it easier to mix with the other ingredients.
2. Add Baking Soda
Add 1/2 teaspoon of baking soda to the glue mixture. Baking soda is crucial because it helps firm up the slime and makes it less sticky.
3. Customize Your Slime
Now’s the time to get creative! If you want to add color, stir in a few drops of food coloring. For a little sparkle, toss in some glitter. You can also mix in beads for a fun, tactile experience.
4. Add Contact Lens Solution
Slowly add 1 tablespoon of contact lens solution to the mixture while stirring continuously. The boric acid in the solution reacts with the glue, turning the mixture into slime. Keep stirring until the slime starts to pull away from the sides of the bowl and forms a ball.
5. Knead the Slime
Take the slime out of the bowl and start kneading it with your hands. At first, it may be sticky, but as you knead, it will become smooth and stretchy. If it’s still too sticky after a few minutes of kneading, you can add a little more contact lens solution—just a drop at a time.
6. Enjoy Your Slime!
Your slime is now ready for play! Stretch it, squish it, and watch it ooze. When you’re done, store it in an airtight container to keep it fresh for future use.
Troubleshooting Tips
- Slime is Too Sticky: Add a few drops of contact lens solution and continue kneading.
- Slime is Too Hard: Add a little bit of water and knead to soften it.
- Slime Won’t Form: Double-check that your contact lens solution contains boric acid and sodium borate. These ingredients are crucial for the chemical reaction.
Fun Variations to Try
Now that you’ve mastered the basic slime recipe, why not try some exciting variations?
2. Fluffy Slime
For a lighter, airier texture, fluffy slime is the way to go.
Ingredients:
- White school glue – 1/2 cup
- Shaving cream – 3 cups
- Baking soda – 1/2 teaspoon
- Contact lens solution – 1 tablespoon
- Optional: Food coloring
Instructions:
- In a large bowl, mix 1/2 cup of glue with 3 cups of shaving cream.
- Add 1/2 teaspoon of baking soda and stir well.
- Mix in food coloring for a fun touch.
- Slowly add 1 tablespoon of contact lens solution while mixing.
- Knead the slime until it reaches the desired consistency—light, fluffy, and oh-so-satisfying!
3. Glitter Slime
Add some sparkle to your slime collection with glitter slime.
Ingredients:
- Clear or white school glue – 1/2 cup
- Baking soda – 1/2 teaspoon
- Contact lens solution – 1 tablespoon
- Glitter – 2 tablespoons
- Optional: Food coloring
Instructions:
- Combine 1/2 cup of glue with 1/2 teaspoon of baking soda in a bowl.
- Stir in 2 tablespoons of glitter (and food coloring if using).
- Gradually add 1 tablespoon of contact lens solution while stirring.
- Knead until the slime is smooth and glittery.
4. Glow-in-the-Dark Slime
Make your slime glow with this fun variation, perfect for nighttime play.
Ingredients:
- White school glue – 1/2 cup
- Glow-in-the-dark paint – 1 tablespoon
- Baking soda – 1/2 teaspoon
- Contact lens solution – 1 tablespoon
Instructions:
- Mix 1/2 cup of glue with 1 tablespoon of glow-in-the-dark paint in a bowl.
- Add 1/2 teaspoon of baking soda and stir until combined.
- Slowly pour in 1 tablespoon of contact lens solution while stirring.
- Knead the slime until it’s smooth and glowing!
5. Crunchy Slime
For a sensory experience like no other, crunchy slime adds an extra layer of fun with foam beads.
Ingredients:
- White school glue – 1/2 cup
- Baking soda – 1/2 teaspoon
- Contact lens solution – 1 tablespoon
- Foam beads – 1 cup
Instructions:
- Start by mixing 1/2 cup of glue with 1/2 teaspoon of baking soda in a bowl.
- Gradually add 1 tablespoon of contact lens solution while stirring.
- Mix in 1 cup of foam beads until evenly distributed.
- Knead the slime until the beads are fully incorporated and enjoy the crunch!
Tips for the Perfect Slime
- Adjust Consistency: If your slime is too sticky, add a few more drops of contact lens solution. If it’s too firm, knead in a bit of water.
- Storage: Keep your slime in an airtight container to prevent it from drying out. Well-stored slime can last several weeks.
- Safety: Always supervise young children during slime-making, especially when using ingredients like borax or contact lens solution.
The Science of Slime
The slime you made is a non-Newtonian fluid. While most fluids, like water, follow the rules Isaac Newton described, non-Newtonian fluids like slime don’t. Depending on how you interact with it, the slime can behave like both a liquid and a solid. This fun experiment helps you see and feel how materials can sometimes defy our usual understanding of matter.
Slime is a fascinating example of a polymer—a substance made of long chains of molecules that slide past each other but stay connected. The glue in your slime contains a polymer called polyvinyl acetate, which is responsible for the slime’s stretchy properties. When you add the contact lens solution, which contains borate ions, it cross-links the glue’s molecules, transforming it into the slime you love to play with.
Why Your Slime Might Fail and How to Fix It
- Too Sticky: Add a bit more contact lens solution.
- Too Runny: Increase the amount of baking soda.
- Not Stretchy Enough: Knead the slime longer; sometimes, it just needs more time to come together.
Conclusion: Endless Fun with Slime Variations
Whether you prefer your slime fluffy, crunchy, glittery, or glow-in-the-dark, there’s a recipe for everyone. Slime-making isn’t just a fun way to pass the time—it’s a fantastic way to explore science, spark creativity, and unwind with a satisfying sensory activity. Gather your ingredients, follow these simple instructions, and start experimenting with the many different types of slime today!
How to Make a Temporary Magnet ( an Electromagnet ) with a Battery: A Fun DIY Science Experiment


